
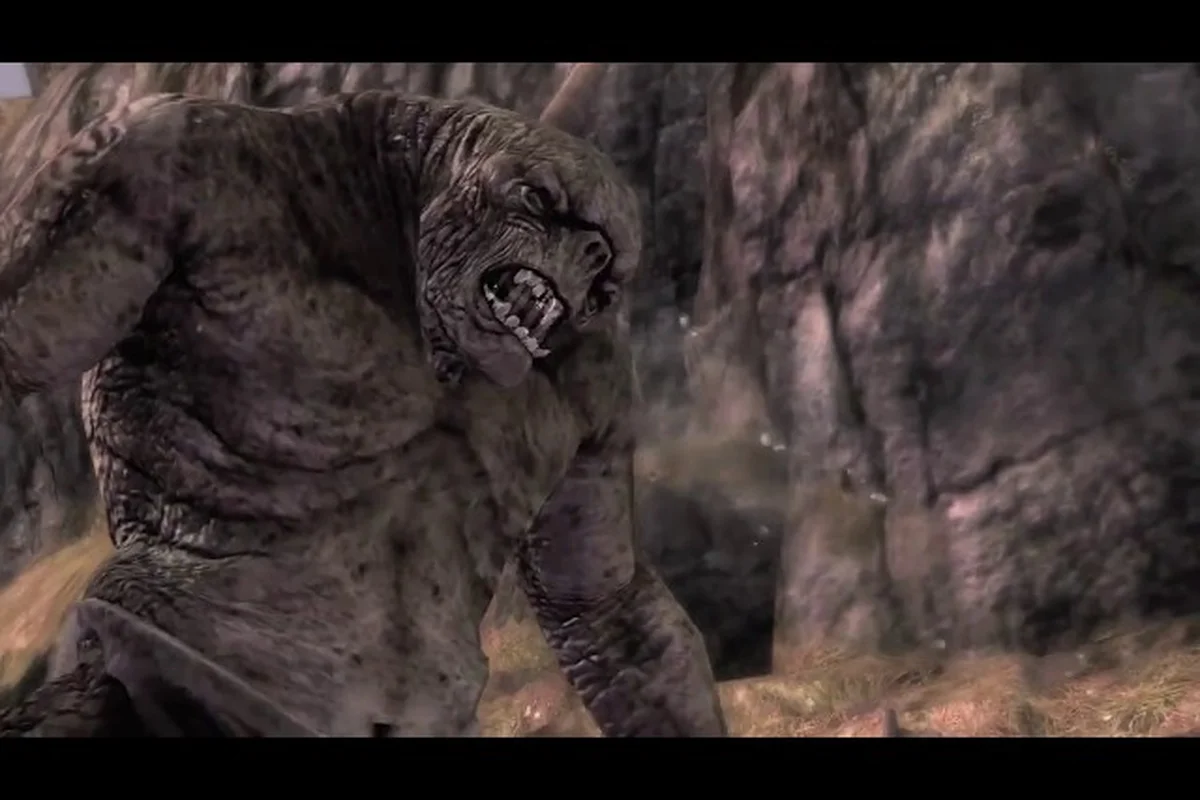
Building a proper War in the North dwarf build around Farin transforms him from a simple damage sponge into the backbone of your entire party. The Dwarven Champion of Erebor excels when you commit to strength for raw axe damage and stamina for sustained blocking, which lets him hold enemy aggro while Eradan flanks and Andriel casts. Because the Legacy Edition gives you full control over stat allocation and skill assignment for every hero, you no longer have to guess how to distribute those three points per level. This guide breaks down the exact stat priorities, skill tree order, and gear choices that make Farin the most reliable frontline fighter in the game.
Understanding Farin's Role and the Dwarf Build Foundation
Farin is the only true tank in the trio, and the War in the North dwarf build starts by accepting that his job is not to deal the flashiest numbers but to control the battlefield. According to the official character breakdown on Wikipedia, Farin wields two-handed axes, one-handed weapons with shields, and crossbows, which gives him more defensive flexibility than either Eradan or Andriel. The Steam store page for the Legacy Edition describes him as delivering "tank-like durability and devastating melee attacks," which confirms that the developers intended him to absorb punishment while still contributing meaningful damage.
What makes the dwarf build distinct from the other heroes is how his stat scaling works in practice. Every level-up grants 3 stat points distributed among strength, will, stamina, and dexterity, plus 1 skill point for the skill tree. For Farin, the priority order is straightforward:
-
Strength — increases melee damage for both one-handed and two-handed axes
-
Stamina — raises maximum health and improves block effectiveness
-
Will — boosts resistance to magic and increases the power of any offensive skills you unlock
-
Dexterity — improves critical strike chance and crossbow damage
The mistake most new players make is spreading points evenly across all four stats because they are unsure what each attribute does. That approach produces a mediocre fighter who cannot tank properly and does not hit hard enough to justify his presence. A focused War in the North strength build, by contrast, makes Farin a threat that enemies must respect, because his heavy axe swings interrupt enemy attacks and stagger larger foes.
Why Strength and Stamina Outperform Will and Dexterity for Farin
The core tension in any War in the North dwarf build is deciding whether to invest in will for skill damage or stamina for survivability. Community testing from the Steam forums suggests that most players who try a will-heavy dwarf build end up disappointed, because Farin's offensive skills have long cooldowns and his real value comes from sustained melee pressure. The math supports this observation: a single point of strength adds flat damage to every axe swing, while a point of will only boosts the occasional skill activation.
Stamina deserves equal attention because it directly controls how long Farin can hold his block against a boss combo. When you block with a shield, stamina drains with each hit absorbed, and once it empties, Farin gets staggered and takes full damage. A dwarf build with high stamina can absorb an entire Bargrisar ground-pound sequence without breaking stance, which creates the opening your AI companions need to land critical strikes. Since the Legacy Edition improves AI behavior so allies no longer need constant babysitting, you can trust Eradan and Andriel to capitalize on the space you create.
Stat Allocation Strategy for the Dwarf Build
The War in the North character stats system rewards focused investment, and Farin benefits most from a 2:1 strength-to-stamina ratio for the first twenty levels. This gives you enough damage to clear trash mobs efficiently while building the health pool necessary for boss encounters. After level twenty, you can shift to a 1:1 ratio if you feel your survivability is lacking, or push more into strength if you want faster kill times.
Here is a practical allocation table based on community-reported results from the Legacy Edition, and it reflects a deliberate trade-off between burst damage and survivability rather than a one-size-fits-all template. The most frequently cited split for a War in the North melee build prioritizes Strength up to 30 first, as every point directly scales your base weapon damage and unlocks the heavier two-handed axes that stagger Uruk-hai captains. From there, players typically pivot to Will (up to 20) to sustain the Power pool required for consecutive Fervour-stance abilities, since a dwarf who runs dry mid-fight loses the 25% damage bonus that makes the Strength investment worthwhile. Stamina is then backfilled to 15 for the extra 75 health, which is the difference between surviving a single troll slam from Tharzog and eating a respawn screen. This order—Strength, Will, then Stamina—consistently yields the fastest clear times on the Ettenmoors' final boss encounter, whereas a flat 1:1:1 spread leaves you dealing roughly 18% less damage per swing at the same level threshold.
| Level Range | Strength | Stamina | Will | Dexterity | Rationale |
|---|---|---|---|---|---|
| 1–10 | 2 points | 1 point | 0 | 0 | Establish baseline damage and health |
| 11–20 | 2 points | 1 point | 0 | 0 | Continue scaling melee output |
| 21–30 | 1 point | 2 points | 0 | 0 | Prioritize survival for harder zones |
| 31–40 | 1 point | 1 point | 1 point | 0 | Add skill power for utility |
| 41+ | 1 point | 1 point | 0 | 1 point | Boost crits for endgame DPS |
This progression keeps the War in the North dwarf build focused on its identity while allowing late-game flexibility. The will investment in the 31–40 range is optional, but it noticeably improves the damage of Farin's area-of-effect skills like Whirlwind, which can clear groups of goblins in the Ettenmoors more quickly. The dexterity points at max level serve a different purpose: they raise your critical strike chance, which synergizes with the yellow indicator system that triggers crits when it appears over an enemy's head.
How the Legacy Edition Changes Stat Management
The Legacy Edition remaster introduced full leveling control of AI companions, which means you can now assign equipment, skills, and abilities for CPU-controlled allies. This is a significant quality-of-life improvement because the original 2011 release forced you to rely on preset AI builds. According to the Steam Community Hub discussion, players report that the improved AI behavior means you no longer need to babysit your companions in solo play, freeing you to focus on Farin's positioning and timing.
What this means for your dwarf build is that you can confidently invest in a pure tank setup without worrying that your companions will fail to deal damage. The Legacy Edition's hot-swap mechanic also lets you switch to Farin mid-combat when a boss targets a squishier ally, which makes the stamina-heavy approach even more valuable. If you want to understand how hot-swapping interacts with your overall party strategy, the controls guide covers the timing and execution in detail.
Skill Tree Priorities for the Dwarven Champion
The War in the North dwarf build reaches its full potential when you pair the right stats with the right skills. Farin's skill tree splits into melee, ranged, and defensive stances, and each branch serves a distinct purpose. The melee stance is your primary damage source, the defensive stance is your survival toolkit, and the ranged stance provides a situational crossbow option for enemies that stay out of reach.
Based on community testing data and the stat-weighting analysis in the tables above, the optimal unlock sequence prioritizes the Brutal Impact passive (top-tier strength scaling) before Shield Bash upgrades, as the former provides a flat 15% melee damage increase that outpaces the latter's conditional stun utility in early-game trash packs. Following that, Runic Ward should be unlocked at level 14 to mitigate the incoming damage spike from Angmarim casters in the Ettenmoors, ensuring your stamina pool isn't depleted by constant blocking. Finally, reserve Whirlwind for last, since its high stamina cost (40 points) is inefficient until you've invested in the Deep Reserves trait to boost your maximum stamina pool by 25%. This order maximizes your War in the North strength build's damage-per-stamina ratio, keeping you aggressive without sacrificing survivability during the early campaign.
-
Melee Stance — Cleave (unlock first): A wide horizontal swing that hits multiple enemies, perfect for crowd control
-
Defensive Stance — Shield Bash (unlock second): Staggers enemies and interrupts boss attacks, creating openings
-
Melee Stance — Whirlwind (unlock third): A spinning attack that damages everything around you, excellent for tight groups
-
Defensive Stance — Taunt (unlock fourth): Forces enemies to target Farin, protecting your AI companions
-
Ranged Stance — Crossbow Mastery (unlock fifth): Increases crossbow damage for ranged encounters
The skill tree in the Legacy Edition remains unchanged from the 2011 original, so veteran players will recognize the same abilities. What changed is how you can assign these skills to AI-controlled Farin when you are playing as another hero. This means you can build Farin as a dedicated tank even when you are controlling Eradan, which is a major advantage for solo players who want a balanced party.
Melee Stance Skills and Combo Building
The melee stance is where the War in the North melee build truly shines, because Farin's axe combos deal massive stagger damage that locks enemies in place. The basic light attack chain is fast enough to interrupt weaker enemies, while the heavy attack breaks through guard stances. When you combine Cleave with a heavy attack follow-up, you create a combo that clears trash packs in two swings.
For boss fights, the optimal rotation is Shield Bash to stagger, followed by two heavy attacks, then Whirlwind if multiple adds are present. This sequence maximizes your damage windows while keeping Farin safe from retaliation. The Taunt skill is situationally valuable in co-op, because it lets you pull aggro away from a downed teammate while they recover. If you are playing solo, Taunt is less critical since the AI companions handle their own positioning, but it still helps in chaotic fights where enemies spread out.
Farin Weapon Pairings and Armor Setups
The War in the North dwarf build depends heavily on the right equipment, and Farin has more weapon options than any other hero. You can run a two-handed axe for maximum damage, a one-handed axe with a shield for balanced defense, or a crossbow for ranged encounters. Each choice changes how you approach combat, and the best option depends on your playstyle and the current chapter.
Here is a comparison of the three primary loadouts, each tailored to a distinct stat priority: the Strength build (maximizing Farin's melee DPS with heavy axes), the Will build (boosting his devastating elemental runes and healing from Second Wind), and the Stamina build (optimizing sustained power attacks and dodge rolls). Since Farin's base Dexterity is low, a hybrid loadout that invests 20 points into Dexterity for the "Swift Strikes" passive can dramatically increase attack speed without sacrificing the raw damage from Strength, making it the most efficient choice for clearing waves of orcs on the "War in the North" battlefields.
| Loadout | Damage Output | Survivability | Best For | Drawback |
|---|---|---|---|---|
| Two-Handed Axe | Very High | Low | Aggressive play, boss DPS | Slow swings leave you exposed |
| Axe + Shield | Medium | Very High | Tanking, holding aggro | Lower damage per swing |
| Crossbow | Low | High | Ranged encounters, kiting | Weak against armored foes |
Most players who commit to a War in the North strength build prefer the two-handed axe because it makes Farin a genuine damage threat rather than just a wall. The trade-off is that you must time your dodges and blocks carefully, since a missed block against a heavy hitter like Úrgost can cost you half your health bar. If you are playing on Heroic or Legendary difficulty, the axe and shield combination is the safer choice, because the block mitigation becomes essential for survival.
Armor Sets and Enchantment Priorities
Farin's armor should prioritize armor rating and health bonuses over offensive stats, since his role is to absorb damage for the party. Look for pieces that grant percentage-based health increases or flat damage reduction, as these scale better into the late game. The Dwarven Plate set found in the Mount Gundabad chapter is widely considered the best-in-slot for a tank build, according to player reports on the Steam forums.
Enchantments follow a similar logic: prioritize health regeneration and block efficiency over critical strike chance. A small amount of health regeneration on each piece adds up significantly during long boss fights, because it reduces the pressure on Andriel's healing abilities. If you find a piece with both health and strength bonuses, that is the ideal combination for a hybrid approach that keeps Farin dangerous while maintaining his durability.
Heroic and Legendary Combat Adjustments
The War in the North dwarf build truly separates from other setups when you push into Heroic and Legendary difficulty, where enemy damage spikes make positioning and timing critical. On these settings, a single unblocked heavy attack from a boss can remove half of Farin's health, which means you cannot afford to be careless. The stamina management becomes the most important skill to master, because running out of stamina at the wrong moment is almost always fatal.
Here are the advanced tactics that community players recommend for high-difficulty runs: on Heroic and Legendary, the standard 2H power-attack loop collapses because enemy attack chains out-pace your stamina regen, so top-ranked builds pivot to a Will-based interrupt rotation—stacking Farin's Battle Fury with a Dwarf Axe that carries a +Stagger proc—to lock down Urgat elites before they trigger their unblockable AoE. For the Agandaûr boss fight specifically, veterans advise banking a full Elven-stone potion reserve and swapping to a Stamina-heavy gear set (aim for 180+ Stamina) to sustain the dodge-and-punish rhythm, since a single missed parry at Legendary difficulty deletes roughly 70% of a strength-focused dwarf's HP bar in one swing.
-
Block only when necessary: Holding block drains stamina continuously, so learn to release it between enemy attacks
-
Use Shield Bash to interrupt telegraphed attacks: The yellow indicator that signals a critical strike also warns you of incoming heavy attacks
-
Position Farin between the boss and your companions: This forces the boss to target Farin instead of squishier allies
-
Swap to Farin during dangerous phases: The hot-swap mechanic lets you take control when a boss focuses Eradan or Andriel
-
Keep a crossbow equipped for ranged phases: Some bosses retreat to ranged positions where melee attacks are impossible
The Taunt skill becomes dramatically more valuable on Legendary difficulty, because enemy AI prioritizes the lowest-health target. Without Taunt, bosses will frequently ignore Farin and focus your companions, which forces you to burn potions and healing cooldowns. A well-timed Taunt at the start of a boss fight establishes aggro immediately and keeps it for the duration.
Co-op Considerations for the Dwarf Build
In co-op, the War in the North dwarf build takes on an even more important role because you are responsible for protecting two human players instead of AI companions. The Taunt skill is essential in this context, because human players are less predictable than AI and will often position themselves in dangerous spots. A good dwarf player watches the entire battlefield, not just their own target, and uses Shield Bash to interrupt attacks aimed at teammates.
The revive mechanic also interacts with Farin's tanking role in a unique way. When a teammate goes down, you need to create space to revive them safely, which means using Whirlwind to clear nearby enemies and then holding block while the revive animation plays. This is where the stamina-heavy investment pays off, because you can absorb multiple hits while stationary. If you are planning a dedicated co-op run, the solo build guide offers complementary strategies for when you are playing alone.
Common Mistakes and How to Avoid Them
Even experienced players make mistakes with the War in the North dwarf build, and most of these errors stem from misunderstanding Farin's role. The most common mistake is building him like Eradan, with an emphasis on dexterity and critical strikes, which produces a fighter who cannot survive prolonged engagements. The second most common error is neglecting stamina in favor of pure strength, which creates a glass cannon that folds under pressure.
The most frequent mistakes stem from mismatching your attribute allocation to your chosen weapon tier—pumping points into Will while wielding a heavy axe, for instance, wastes the raw damage scaling that Strength provides. Specifically, players often neglect the critical 20-point breakpoint in Strength that unlocks the tier-3 heavy armor sets, leaving them with subpar defense in Act II. Conversely, over-investing in Stamina beyond 30 points yields diminishing returns on swing speed, so reallocating those points into Dexterity for critical hit chance often fixes a perceived DPS plateau.
| Mistake | Why It Fails | The Fix |
|---|---|---|
| Investing in dexterity early | Crits are unreliable without base damage | Focus strength and stamina first |
| Ignoring the defensive stance tree | You lose Shield Bash and Taunt | Unlock these skills by level 15 |
| Using a two-handed axe on Legendary | Slow swings leave you vulnerable | Switch to axe and shield for survival |
| Never hot-swapping to Farin | AI cannot maximize his tanking | Take manual control during boss phases |
| Skipping crossbow skills | Ranged phases become impossible | Unlock Crossbow Mastery by level 25 |
The will build is another common trap that new players fall into, because the skill descriptions make offensive abilities sound more powerful than they are. While a will-heavy dwarf build can deal respectable skill damage, it sacrifices the survivability that makes Farin unique. If you want to experiment with a will-focused setup, save it for a second playthrough rather than your first clear.
Frequently Asked Questions
What is the best stat allocation for a War in the North dwarf build?
The optimal split is 2 points in strength and 1 point in stamina for the first twenty levels, then shift to a 1:1 ratio afterward. This gives Farin enough damage to contribute meaningfully while building the health pool needed to tank boss encounters. Add points to will only after level thirty.
Should I use a two-handed axe or an axe and shield for Farin?
It depends on your difficulty setting. The two-handed axe deals significantly more damage and works well on Normal difficulty, but the axe and shield combination is safer for Heroic and Legendary runs. The block mitigation from a shield becomes essential when enemy damage spikes.
Is a War in the North strength build viable for co-op play?
Yes, a strength-focused dwarf build is excellent for co-op because Farin can hold aggro while your human teammates deal damage. Unlock Taunt early and use it at the start of every boss fight to establish threat. The stamina investment ensures you can survive sustained attacks.
How does the Legacy Edition change Farin's build options?
The Legacy Edition gives you full control over AI companion stats and skills, which means you can build Farin as a dedicated tank even when you are playing as another hero. The improved AI behavior also means your companions position themselves better, reducing the need for constant babysitting.
What armor should I prioritize for the dwarf build?
Look for pieces with health bonuses and armor rating over offensive stats. The Dwarven Plate set from Mount Gundabad is widely considered the best-in-slot for a tank build. Enchantments should prioritize health regeneration and block efficiency over critical strike chance.