
Bosses
Every War in the North boss fight explained — attack patterns, weaknesses and party tactics for Agandaûr, Úrgost, Bargrisar, Tharzog and more.
Introduction
War in the North is packed with memorable boss fights, from the trolls and wargs of the opening chapters to the multi-phase confrontation with Agandaûr, the Black Númenórean antagonist, and the dragon Úrgost. Each boss has a distinct attack pattern, a clear weakness and a recommended party approach, and the hardest fights demand that you use your whole party — hot-swapping heroes, coordinating Hero Mode and keeping aggro off your squishier characters. This section breaks down every major encounter: where to find it, what to expect, which mechanics matter and how to win with a solo or co-op party. Whether you are stuck on Bargrisar in the Ettenmoors or the final battle at Carn Dûm, the strategies here will carry you through.
Boss Encounter Guide
| Boss | Location | Key Mechanic | Difficulty |
|---|---|---|---|
| Agandaûr | Carn Dûm (final boss) | Multi-phase, magic barrage, summoned adds | Hardest |
| Úrgost the Dragon | Carn Dûm approach | Breath attacks, flight phases, bargain choice | Very Hard |
| Bargrisar | Ettenmoors | Stone giant, positioning, Gwaihir assist | Hard |
| Tharzog | Mount Gundabad | Goblin leader, melee pressure, adds | Medium |
| Troll & Warg encounters | Fornost, Bree outskirts | Teaches block and dodge timing | Easy |
Boss Roster
Agandaûr
The Black Númenórean final boss of Carn Dûm
Úrgost the Dragon
The dragon whose bargain shapes the ending
Bargrisar
The stone giant of the Ettenmoors
Tharzog
The goblin leader of Mount Gundabad
Troll & Warg Encounters
The early teaching fights of Fornost and Bree
Core Mechanics
Boss fights in War in the North are designed to test everything you have learned. Early bosses teach the fundamentals — blocking a troll's overhead slam, dodging a warg's lunge and killing adds before they overwhelm you. Mid-game bosses like Tharzog add arena hazards and aggressive melee pressure, forcing you to manage positioning while dealing damage. Late bosses introduce multi-phase structures: a boss changes its attack pattern at health thresholds, summons reinforcements or flies out of reach until you trigger a scripted event. The dragon Úrgost even offers a dialogue choice that changes the encounter. Co-op changes the dynamic significantly, as you can split aggro, revive fallen allies and chain Hero Mode activations for massive burst windows.
Advantages
The boss design rewards preparation and adaptation. Because each boss has a clear weakness and pattern, you can learn and master fights rather than just out-level them. The encounters are also memorable — the Gwaihir-assisted battle against Bargrisar, the dragon's bargain with Úrgost and the multi-phase Agandaûr fight are some of the most iconic moments in the game. In co-op, bosses become group puzzles where communication and role assignment matter, and the revive mechanic means a well-coordinated party can recover from almost anything. The difficulty curve is fair, with easier bosses early to build your skills before the late-game gauntlets.
Challenges
The hardest bosses can feel overwhelming on a first attempt, especially the multi-phase fights where a mistake in one phase compounds in the next. Add-spawning bosses punish players who tunnel on the boss instead of clearing reinforcements. The most punishing encounters are tuned for a full party, so solo players may need to grind levels or gear to match what a three-player team would bring. Finally, some boss mechanics are not fully documented — community guides are still testing the exact thresholds and trigger conditions of the hardest fights, so a strategy that works at one level or difficulty may not work at another.
Frequently Asked Questions
What is the hardest boss in the game?+
How do I beat Bargrisar in the Ettenmoors?+
Can I beat bosses solo?+
Quick Tips
Learn the boss's tells before you try to win. Every attack in War in the North has a wind-up animation, and identifying which attacks are blockable, which must be dodged and which spawn hazards is the difference between winning and wiping. Spend the first attempt just surviving and learning rather than trying to deal damage.
Clear adds before focusing the boss. Add-spawning encounters like Tharzog and Agandaûr punish players who tunnel on the boss, because the reinforcements heal the boss, deal damage or interrupt your combos. One player in co-op should be the dedicated add-clearer. When a boss summons adds, drop everything and clear them before returning to the main target. The reinforcements heal the boss, interrupt your combos and make the fight drag on, so a disciplined add-clearing routine turns several of the hardest encounters into manageable slogs.
Keep aggro off your squishy heroes. In co-op, let Farin or whoever is built for survivability pull the boss's attention, and keep Andriel and Eradan at range. When you hot-swap, the boss may retarget, so make the switch when you have space to reposition. Keep your squishy heroes out of the boss's aggro range whenever you can. Let your tank or the best-geared melee hero hold the boss's attention while Eradan and Andriel attack from a safe distance, and hot-swap only when you have room to reposition safely.
Chain Hero Mode with your party. A co-ordinated Hero Mode chain creates a huge damage window that can skip an entire boss phase. Build your combo meters on the adds and trash before the fight, then trigger them in sequence when the boss is staggered or exposed. Learn each boss's wind-up tells before you commit to dealing damage. A single fight where you focus purely on reading the attack patterns and surviving will teach you the block and dodge timings you need, and that knowledge carries straight into the next attempt.
Featured
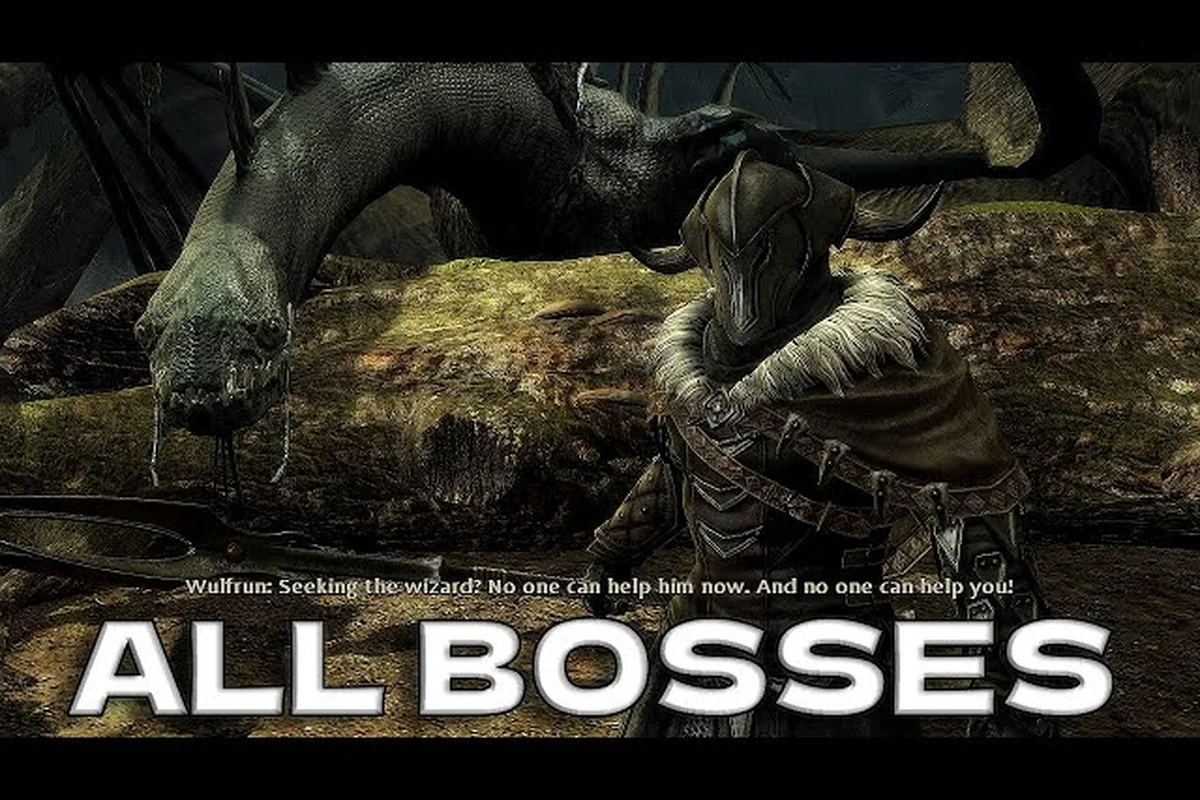
War in the North boss tactics: weaknesses and patterns
Learn War in the North boss tactics for every encounter. Identify weaknesses, dodge patterns, and the easiest to hardest fights to prepare your party.
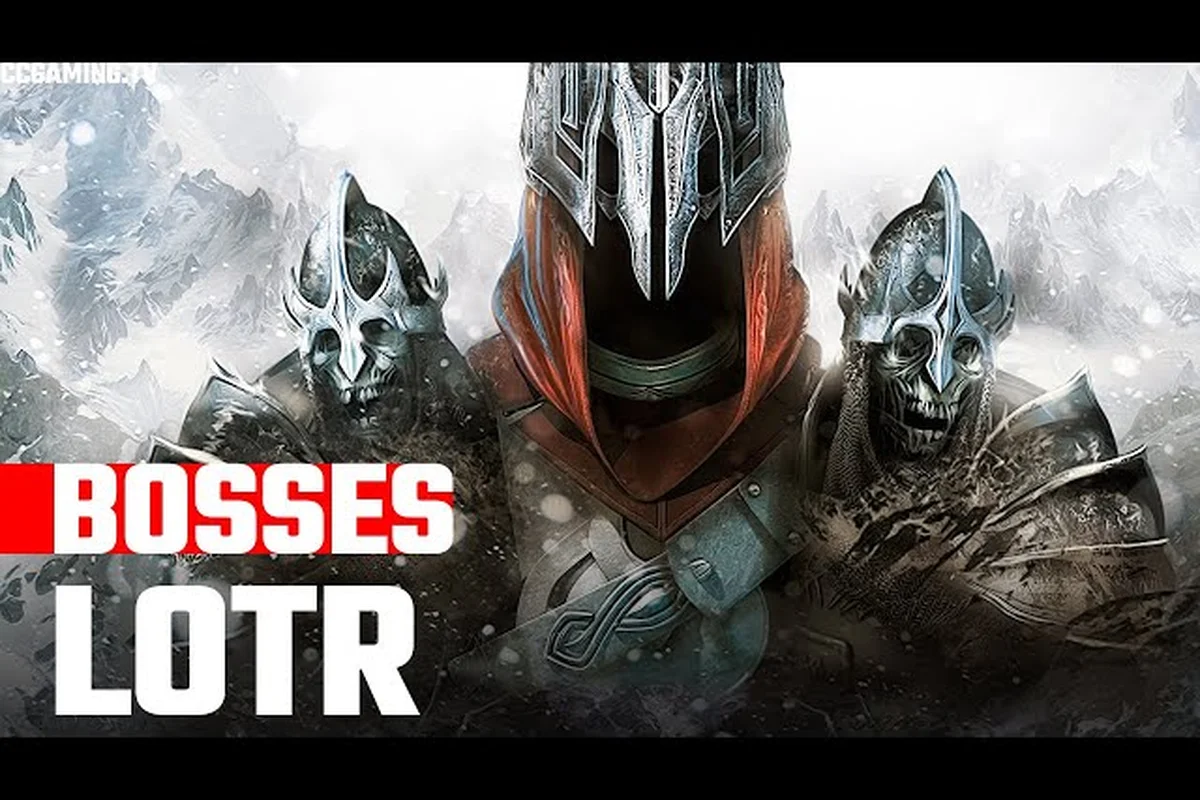
War in the North boss guide: all encounters ranked
Master every War in the North boss guide encounter, from trolls and wargs to the Stone-giant Bargrisar and Agandaûr. Learn locations, phases, and co-op.
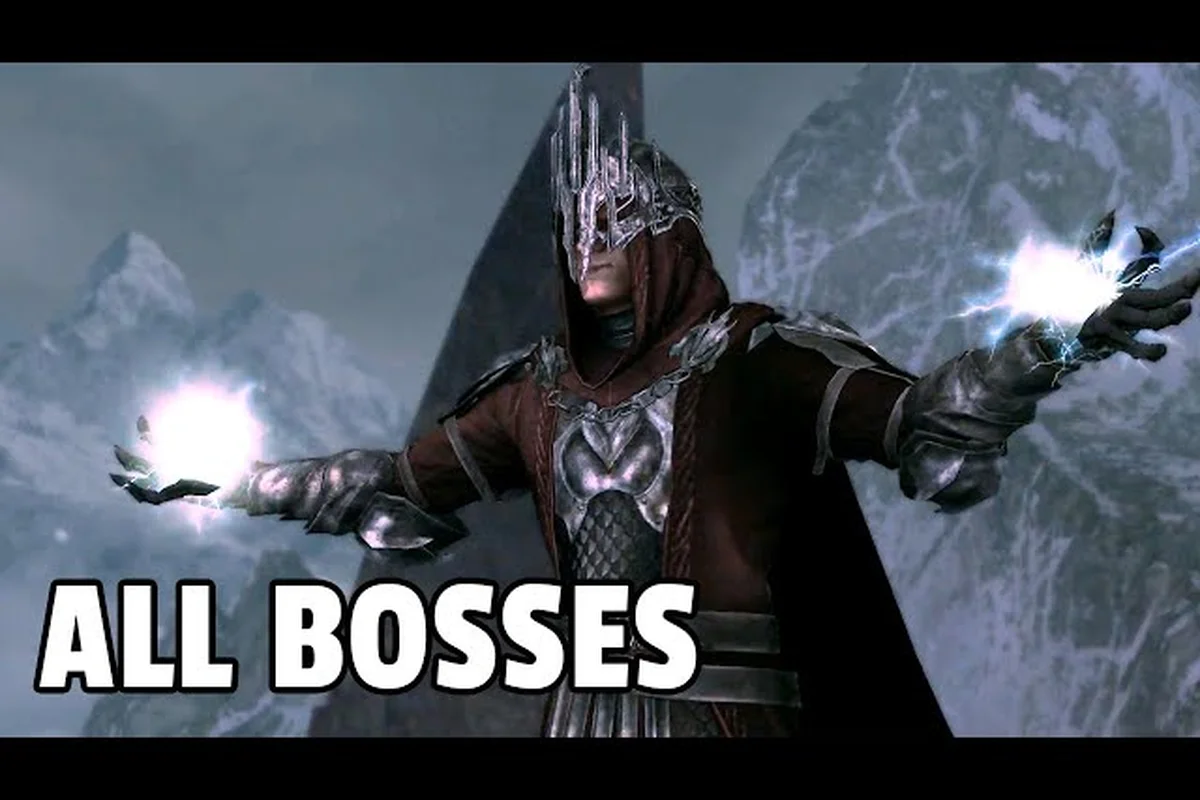
War in the North boss rewards: loot drops and achievements
Discover War in the North boss rewards from Carn Dûm to Gundabad. Learn loot drops, achievements, and which encounters yield the best epic gear for your party.
All Articles
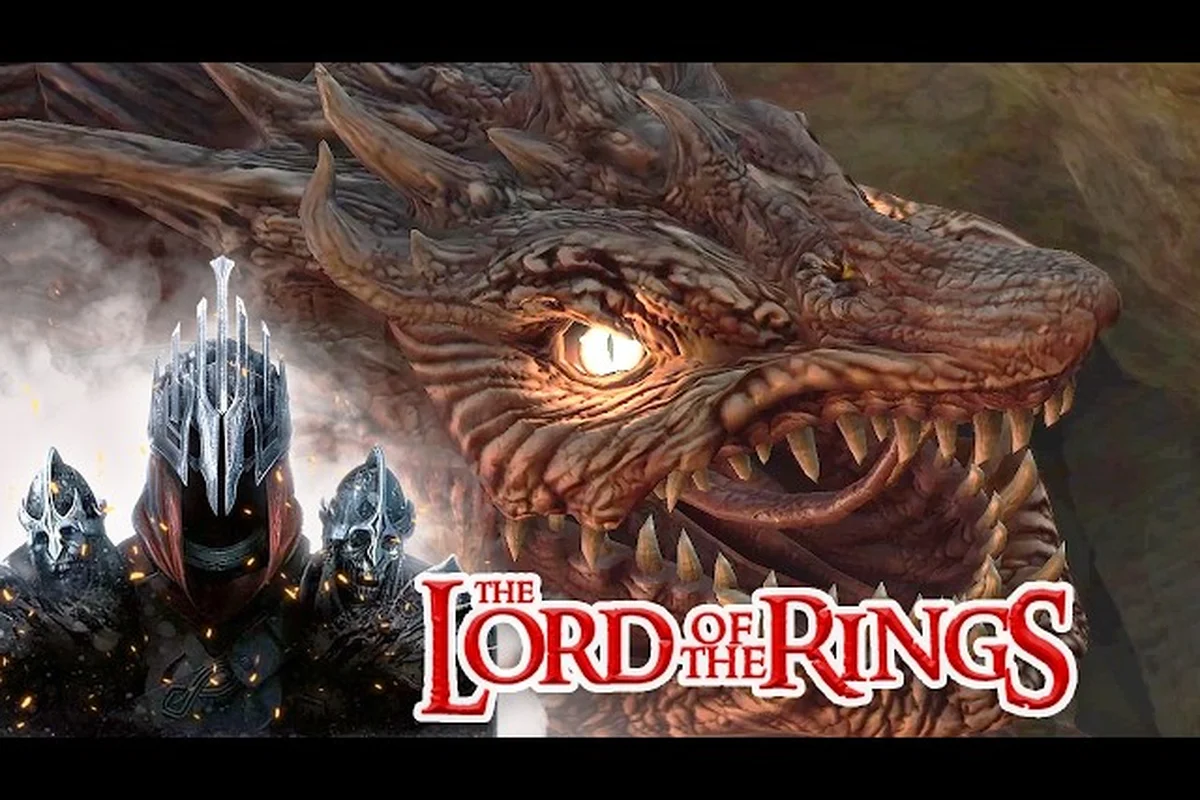
War in the North final boss: Úrgost the dragon in Carn Dûm
Defeat the War in the North final boss Úrgost the dragon. Learn attack patterns, phase transitions, and the best party setup to survive the climax of Carn Dûm.
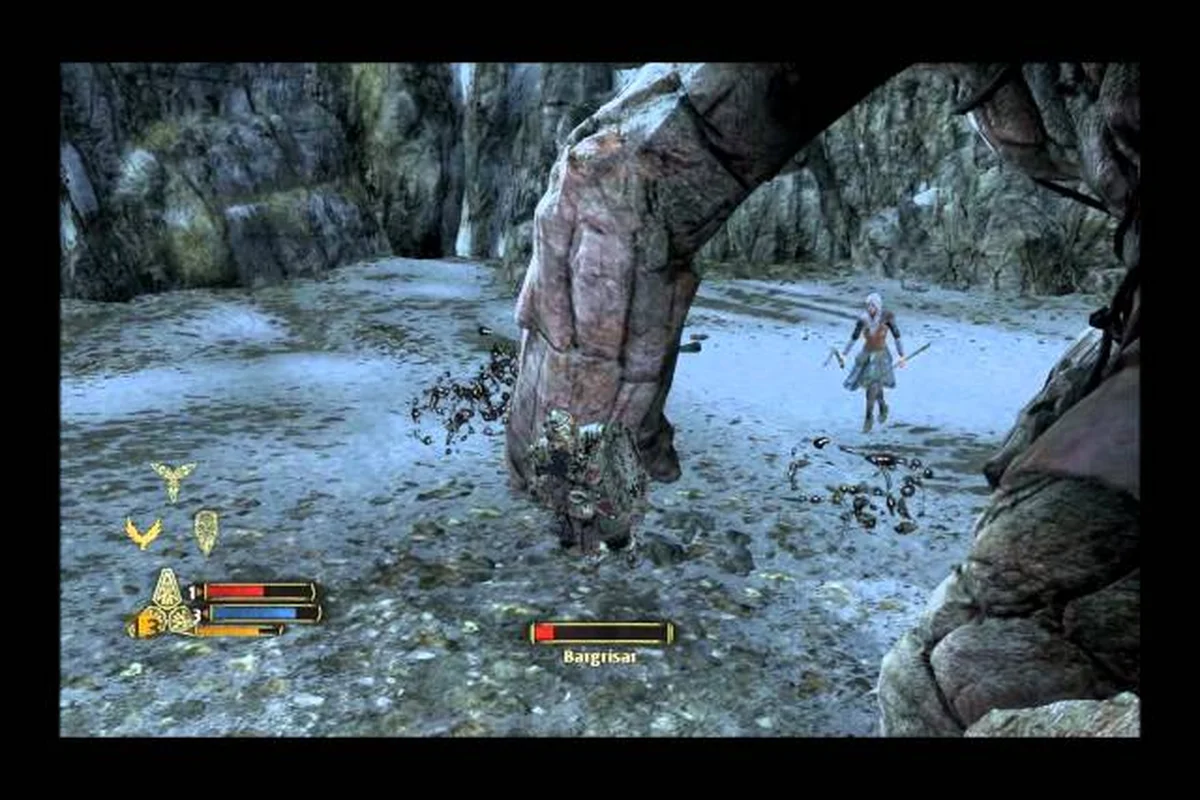
War in the North stone giant boss: beat Bargrisar guide
Beat the War in the North stone giant boss Bargrisar in the Ettenmoors. Use Eagle assistance, target weak points, and survive this massive encounter.
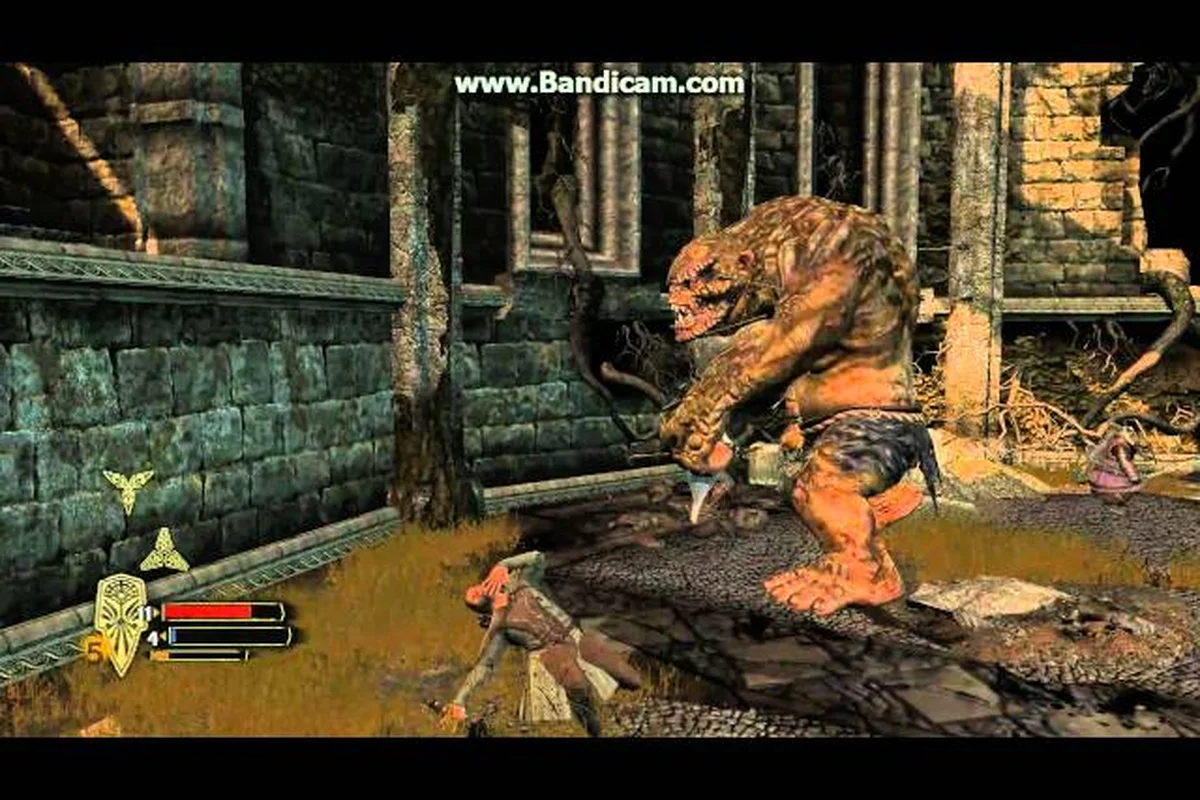
War in the North troll boss: mini-bosses and Uruk elites
Handle War in the North troll boss fights plus wargs and Uruk elites. Get co-op tips, positioning advice, and crowd control tactics for mini-boss encounters.
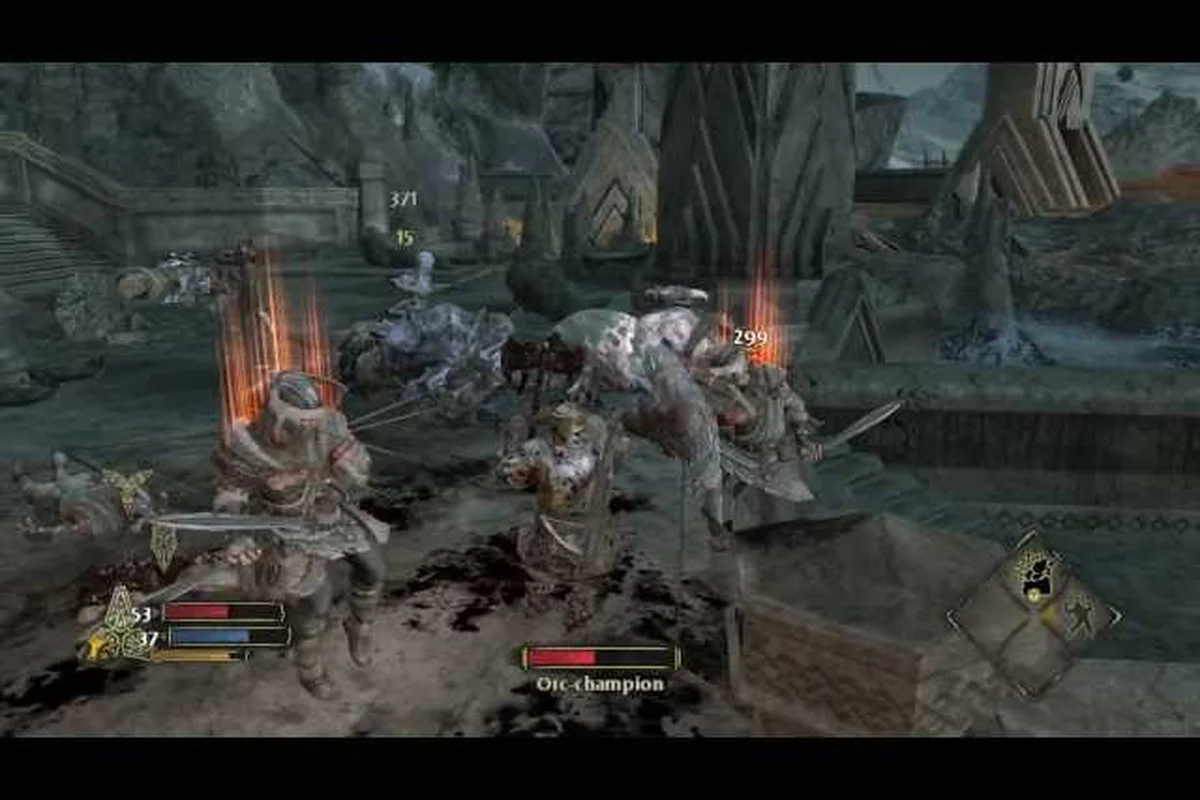
War in the North Nordinbad boss: multi-phase dragon
Conquer the War in the North Nordinbad boss with Gwaihir's assistance. Learn multi-phase tactics, dragon attacks, and how to finally kill Agandaûr.